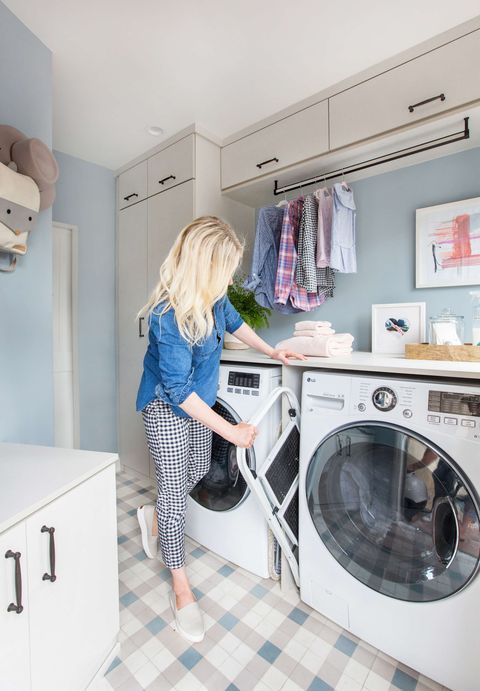
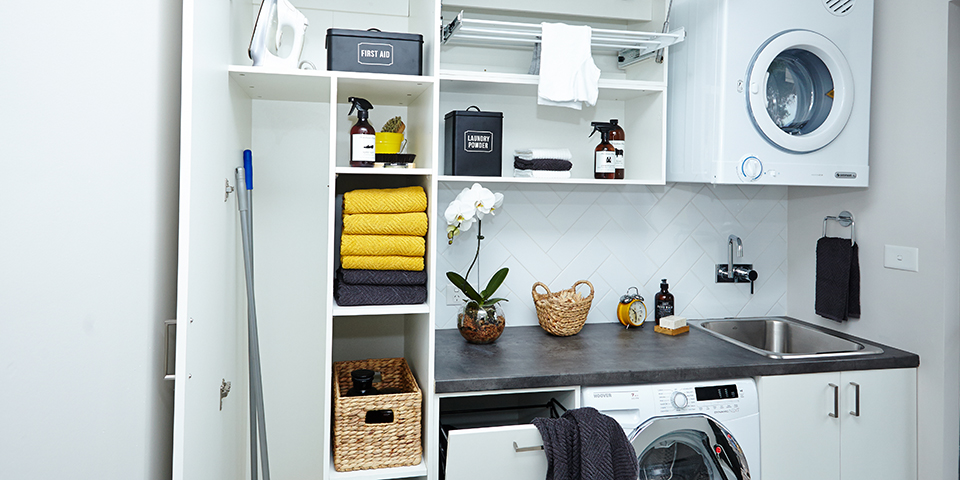
There are many things that you can use as good laundry room storage solutions, as we discussed in this article. Here we are with some of the great aspects that you can use to your laundry, and that helps you to maintain the laundry room storage […]
Things to consider when going for shop laundry and cleaning solutions for better results!!
Shop laundry and cleaning solution in the better way, here are some important things to consider about it. First, you have to look for the best type of laundry that is helpful to you in all types. Also, better to search online to get more options […]
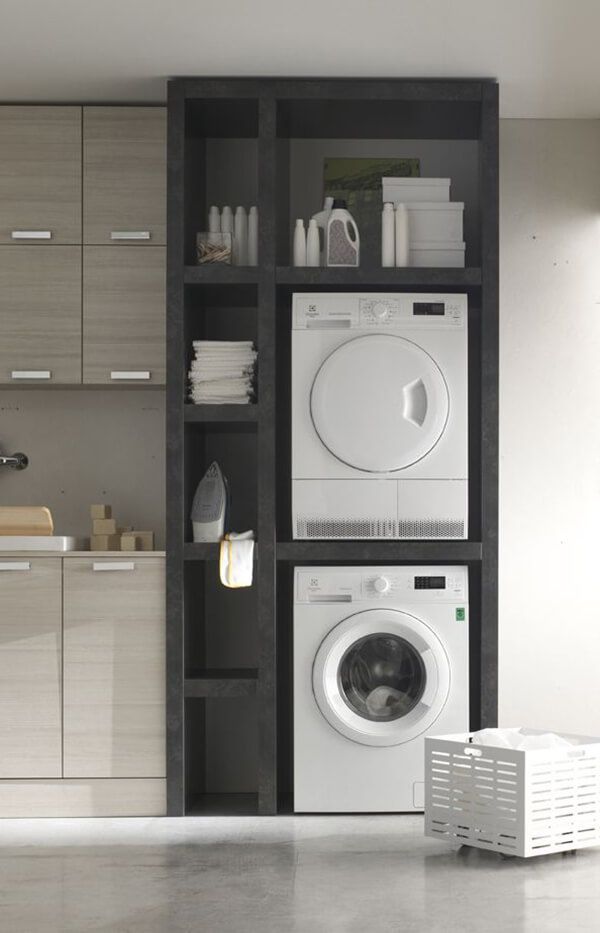
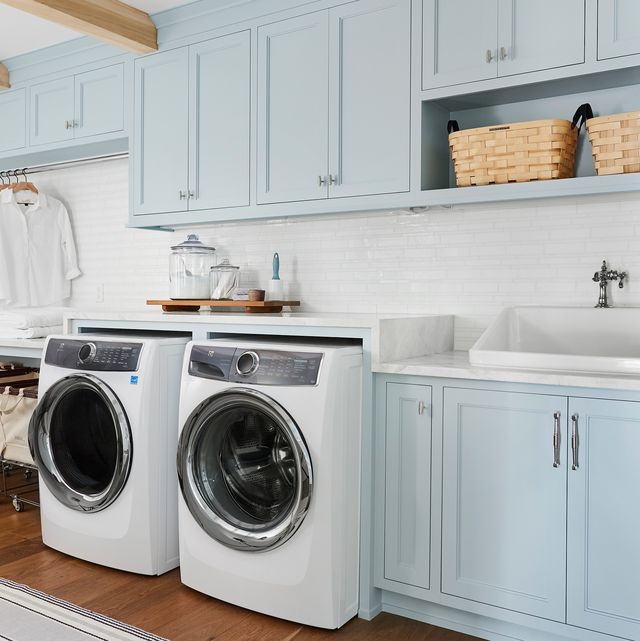
Laundry room storage – what things to consider for the right laundry storage
There are some of the very important things to pay attention to for the right laundry room storage. Here we are with some great things to use to your laundry that helps you to store more with less occupying space. Keeping the laundry clean and maintained […]
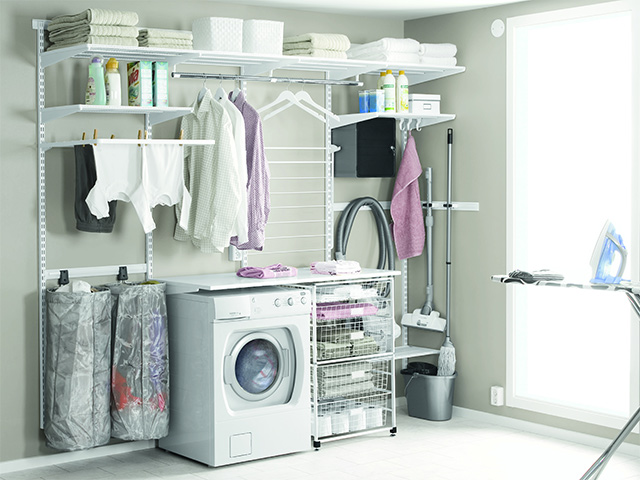
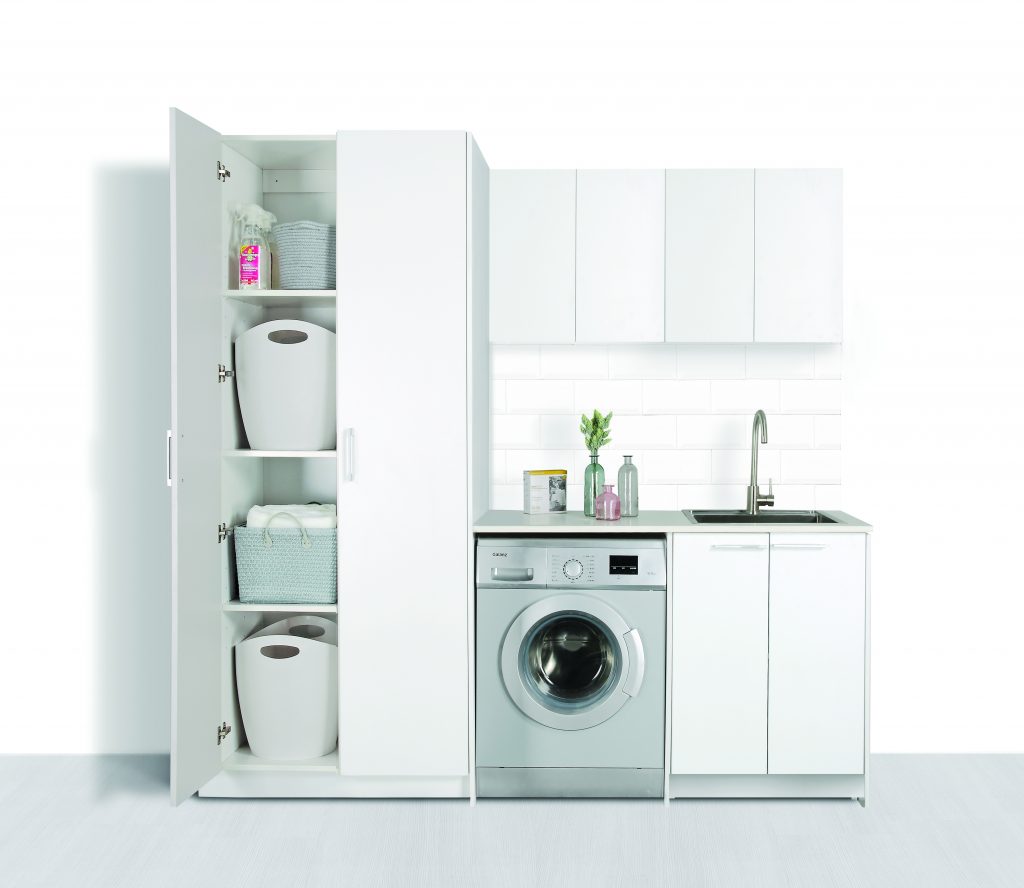
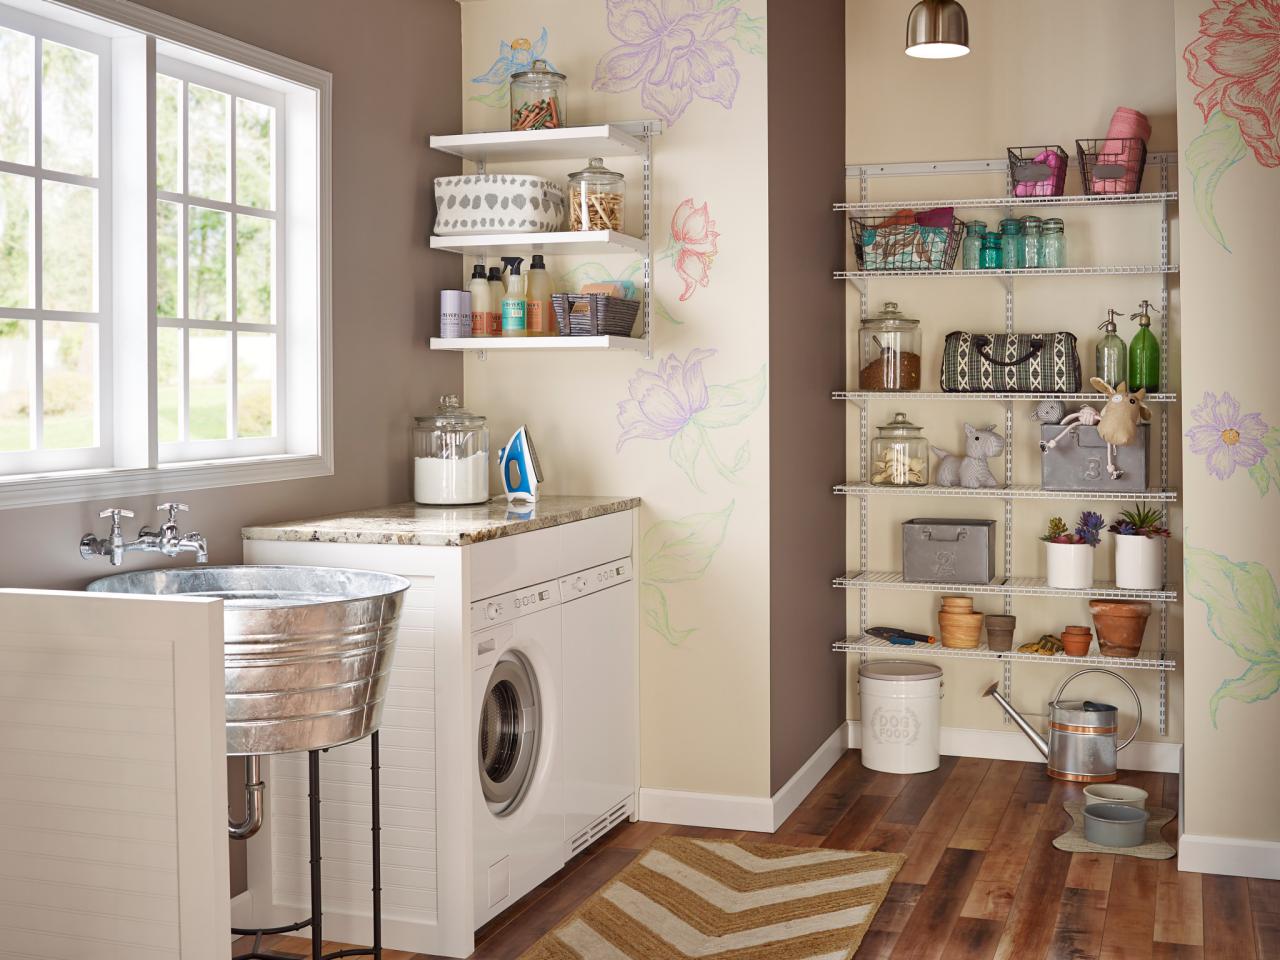
Laundry storage system – a great option for the good maintenance of laundry
Known for everything about the laundry storage system is a good way to consider for its better maintenance. This includes all the important aspects that play an important role in the laundry keeping. In this article, you know for the things that, when used, give […]
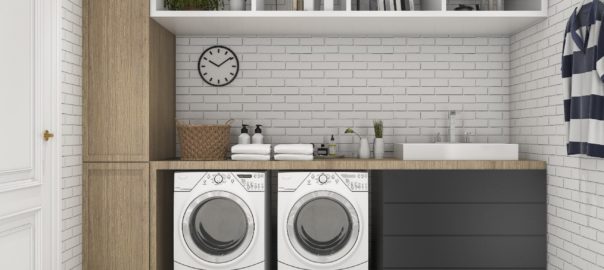
How to choose a laundry storage system? Know in three simple ways!!
When it comes to choosing the best laundry storage system, it is good to focus on the top three ways. Reading the ways carefully helps you to know about the important things that you have to consider choosing for the best laundry. This main thing comes […]
Top two things to pay attention to the laundry storage for kids
To make your child easy finding of its things, there are top two things to pay attention to. Laundry storage for kids includes the things by which your child gets the easy playing and even can able to set its schedule. There are many things to store […]

Learn and explore everything effective about the laundry storage solutions
Know and learn for everything effective about the laundry storage solutions is a good way to keep everything essential in a good manner. In this article we are going to tell you about the effective laundry solutions for the easy life. Keep the things in a good […]
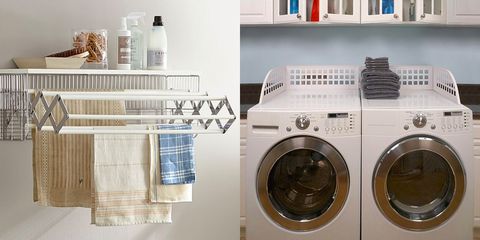
Laundry storage hooks – how hooks are helpful for the laundry storage system
For the better system of the laundry, laundry storage hooks play an important role. Here we are good information about the better use of hooks that makes your life easy and effective. Get everything in a very systematic way really gives you the peace of mind and […]
Top four laundry storage system tips to make your life effective and easy as well
To make the laundry room look more effective and beautiful, you have to follow some important tips that help you to make your life easy. Keep everything in a well-mannered way really looks good clean as well as suitable for finding things fast. These tips […]
Top three things you need to know about laundry room storage solutions
For the proper maintenance and cleaning of the laundry room, you have to pay attention to its top three important aspects that help you to make your life easy and fast. By keeping every essential part of laundry in a good manner is the only […]